


Web development is a fundamental skill in today’s digital world, and HTML (Hypertext Markup Language) is the foundation of building web pages. Whether you’re a beginner or aspiring web developer, knowing how to create an HTML file is an essential first step. In this article, we’ll provide a step-by-step guide on creating an HTML file, from choosing a text editor to saving and previewing the file. Let’s dive in!
Section 1: Choosing a Text Editor
A text editor is a software tool used to create and edit plain text files, including HTML files. Here are some key points to consider when choosing a text editor:
Considerations for Choosing a Text Editor
- Ease of use: Look for a text editor with a user-friendly interface that makes it easy to write and edit HTML code.
- Syntax highlighting: Syntax highlighting helps to visually distinguish different HTML elements and attributes, making it easier to read and write code.
- Autocomplete: Autocomplete features can save time by suggesting and completing HTML tags and attributes as you type.
- Extensibility: Some text editors allow you to extend their functionality with plugins or extensions, which can be helpful for web development tasks.
- Platform compatibility: Ensure that the text editor is compatible with your operating system (e.g., Windows, macOS, Linux).
Popular Text Editors for HTML
- Notepad: Notepad is a basic text editor available on Windows that can be used for creating HTML files. It lacks some advanced features but is simple and easy to use for beginners.
- Sublime Text: Sublime Text is a popular cross-platform text editor known for its speed and flexibility. It offers a wide range of features, including syntax highlighting, autocomplete, and extensibility, making it a preferred choice for many web developers.
- Visual Studio Code: Visual Studio Code (VSCode) is a free, open-source text editor developed by Microsoft. It has a rich set of features, including advanced syntax highlighting, debugging, and a large extension marketplace, making it a popular choice for web development.
- Atom: Atom is another popular text editor developed by GitHub. It offers a clean and customizable interface, syntax highlighting, and a large library of plugins, making it a favorite among web developers.
Section 2: Creating a New HTML File
Once you’ve chosen a text editor, you can start creating a new HTML file. Here’s how:
Open the Text Editor
Launch the text editor that you’ve chosen on your computer.
Create a New File
- In the text editor, go to the “File” menu and select “New” to create a new file.
- Alternatively, you can use keyboard shortcuts, such as “Ctrl + N” on Windows or “Cmd + N” on macOS, to create a new file.
Set the File Extension
- Save the new file with a suitable name, such as “index.html,” to indicate that it’s an HTML file.
- Make sure to set the file extension as “.html” to indicate that it’s an HTML file.
Section 3: Writing HTML Code
Now that you have a blank HTML file open in your text editor, you can start writing HTML code. Here’s a step-by-step guide on how to do it:
Start with the HTML Doctype Declaration
- Every HTML file should start with a doctype declaration, which specifies the version of HTML being used.
- The doctype declaration is placed at the very beginning of the HTML file and is enclosed in
<!DOCTYPE html>tags.
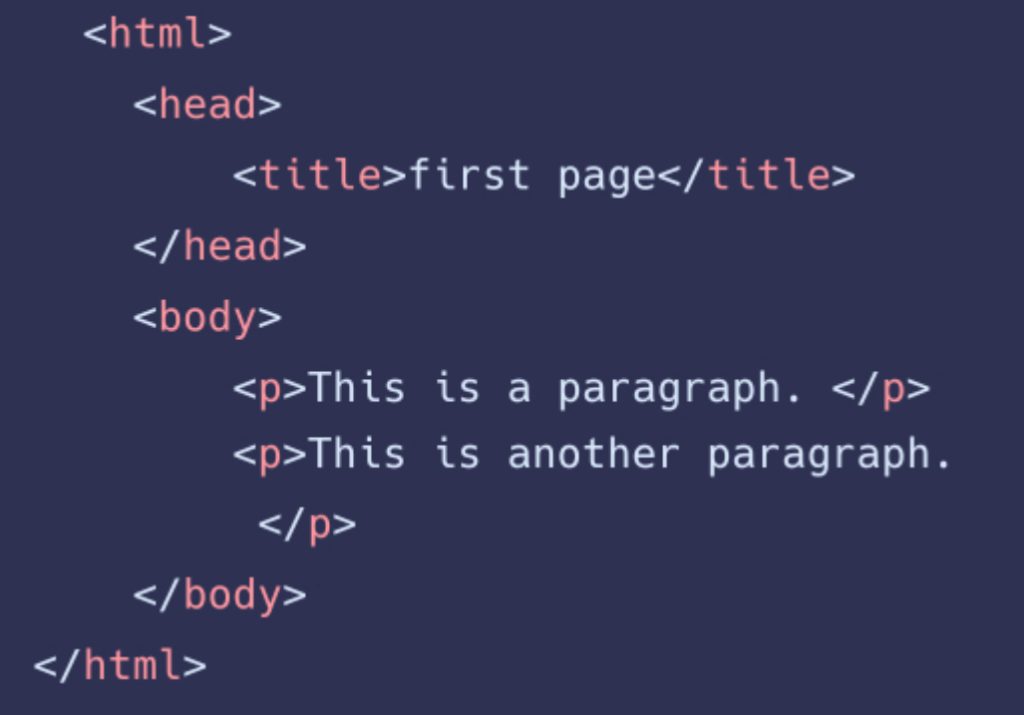
Create the HTML Document Structure
- After the doctype declaration, you need to create the structure of the HTML document using the
<html>element. - The
<html>element serves as the root element of the HTML document and contains all the other elements that make up the web page. - Inside the
<html>element, you will typically have two main sections: the<head>and<body>sections.
Add the Head Section
- The
<head>section is used to define meta-information about the HTML document, such as the title, character encoding, and CSS styles. - The
<head>section is not displayed on the web page itself but provides important information to web browsers and search engines. - You can include elements such as
<title>,<meta>, and<link>inside the<head>section.
Add the Body Section
- The
<body>section is used to define the content that will be displayed on the web page. - This is where you can add HTML elements such as headings, paragraphs, images, links, and other content to create the visual layout and structure of your web page.
- You can also add CSS styles and JavaScript code to enhance the appearance and functionality of your web page.
Use HTML Tags and Attributes
- HTML uses tags and attributes to define elements and specify their properties.
- Tags are enclosed in angle brackets
< >and are used to mark the beginning and end of an element, such as<p>for paragraphs or<img>for images. - Attributes are used to provide additional information or properties to an element, and are specified within the opening tag of an element using the syntax
attributeName="attributeValue", such assrc="image.jpg"for specifying the source of an image.
Follow HTML Syntax and Best Practices
- It’s important to follow the correct syntax and best practices when writing HTML code to ensure that it’s valid and well-structured.
- Some key points to keep in mind include:
- Use lowercase for HTML tags and attribute names.
- Close all HTML tags properly with their corresponding closing tags, or use self-closing tags for elements like images and line breaks.
- Use indentation and proper formatting to make the code more readable.
- Include comments in your HTML code to explain the purpose of certain sections or elements.
- Use semantic HTML elements to improve accessibility and search engine optimization (SEO).
- Avoid using deprecated HTML tags and attributes that are no longer supported in modern web development.
Section 4: Saving and Previewing the HTML File
Once you’ve finished writing your HTML code, it’s time to save the file and preview it in a web browser. Here’s how:
Save the HTML File
- In your text editor, go to the “File” menu and select “Save” to save the HTML file.
- Choose a suitable location on your computer to save the file, and make sure to save it with the “.html” file extension.
Preview the HTML File
- Open a web browser on your computer and go to the file location where you saved the HTML file.
- Double-click on the HTML file to open it in the web browser.
- The web browser will render the HTML code and display the web page based on the content and structure you’ve defined in your HTML file.
- You can now view and interact with your web page in the web browser to see how it looks and functions.
Conclusion
Creating an HTML file is the first step in web development, and it’s crucial to understand the basics of HTML syntax, tags, and attributes. By following the step-by-step guide outlined in this article, you will be able to create a simple HTML file from scratch. Remember to start with a clear plan, define the doctype, create the HTML document structure with the <html>, <head>, and <body> elements, use HTML tags and attributes to define the content and structure of your web page, follow HTML syntax and best practices, and finally save and preview your HTML file in a web browser.
As you gain more experience in web development, you can further enhance your HTML files by incorporating CSS for styling and JavaScript for interactivity. You can also learn about more advanced HTML features, such as forms, tables, and multimedia elements, to create more complex and dynamic web pages.
With a solid foundation in HTML, you’ll be well on your way to becoming a proficient web developer and creating engaging and interactive web pages for various purposes, such as personal websites, blogs, e-commerce sites, and more. Remember to always stay updated with the latest HTML standards and best practices to ensure that your web pages are optimized for modern web browsers and devices.
HTML is the fundamental markup language for creating web pages, and understanding its basics is essential for anyone interested in web development. By following the step-by-step guide provided in this article, you can start creating your own HTML files and embark on your journey to becoming a skilled web developer. So, grab your text editor, start coding, and unleash your creativity to build amazing web pages that can be accessed and enjoyed by users all around the world! Happy coding!